Getting Started with Obsidian and GitHub
Using GitHub with Obsidian is a free way to sync and version control your vault. I have used a personal git server and GitHub to manage/sync my vaults for their entire lifetime.
GitHub repository setup
-
If you do not have an account with GitHub, you can create one here.
-
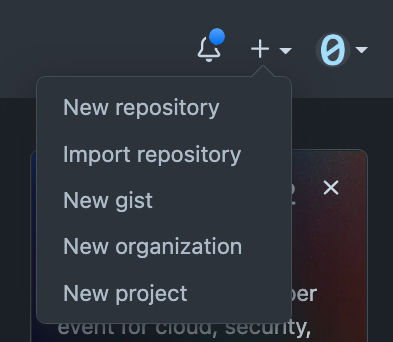
After you have created an account and logged in, you can create a new repo from the + sign in the top right.
-
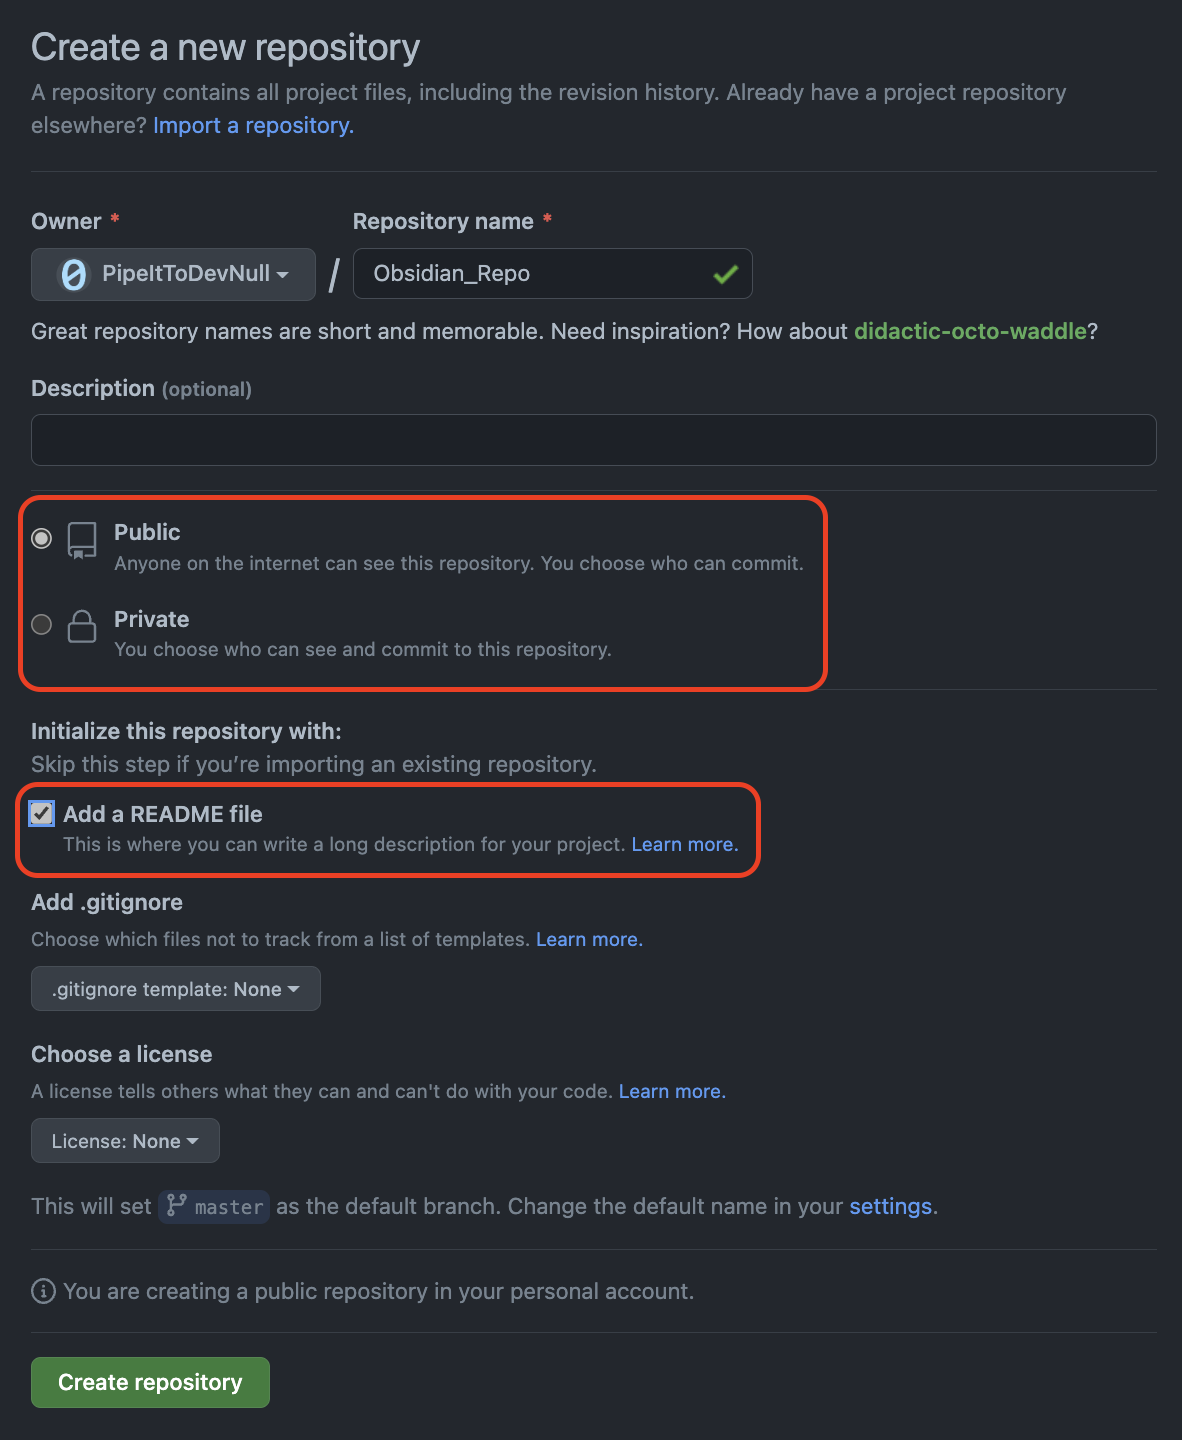
Choose a repo name, make it Public or Private as you see fit. Tick Add Readme
-
You should be left with a repo resembling this. If you are presented a "how to" that means you did not include the ReadMe. Delete the repo via the Settings and re-make it.

Create a GitHub Personal Access Token (PAT)
These GitHub docs are decent enough: Creating a personal access token - GitHub Docs
Git setup
- Install git for Windows, MacOS, or Linux.
- Open a PowerShell window or Terminal, this should open in the root of your user directory.
cd there but we will not be covering it.
- To pull down the bare repository from GitHub run
git clone <url of the repo>- Get the URL for the repo out of your browser.
- You can now open your File Explorer to find a directory named the same thing as your Repo. It will have a ReadMe file inside that you can remove.
Vault setup
- Add any files you want to into the repo. The root of your repository should be treated as the root of your vault.
- Once files are added open a new PowerShell and run the following:
cd Obsidian_Repo
git add .
git commit -a -m 'initial commit'
git push
You should now be able to view your files online in your GitHub repo.
Obsidian git plugin setup
-
From the plugins pane in Obsidian add the "Obsidian Git" plugin.
-
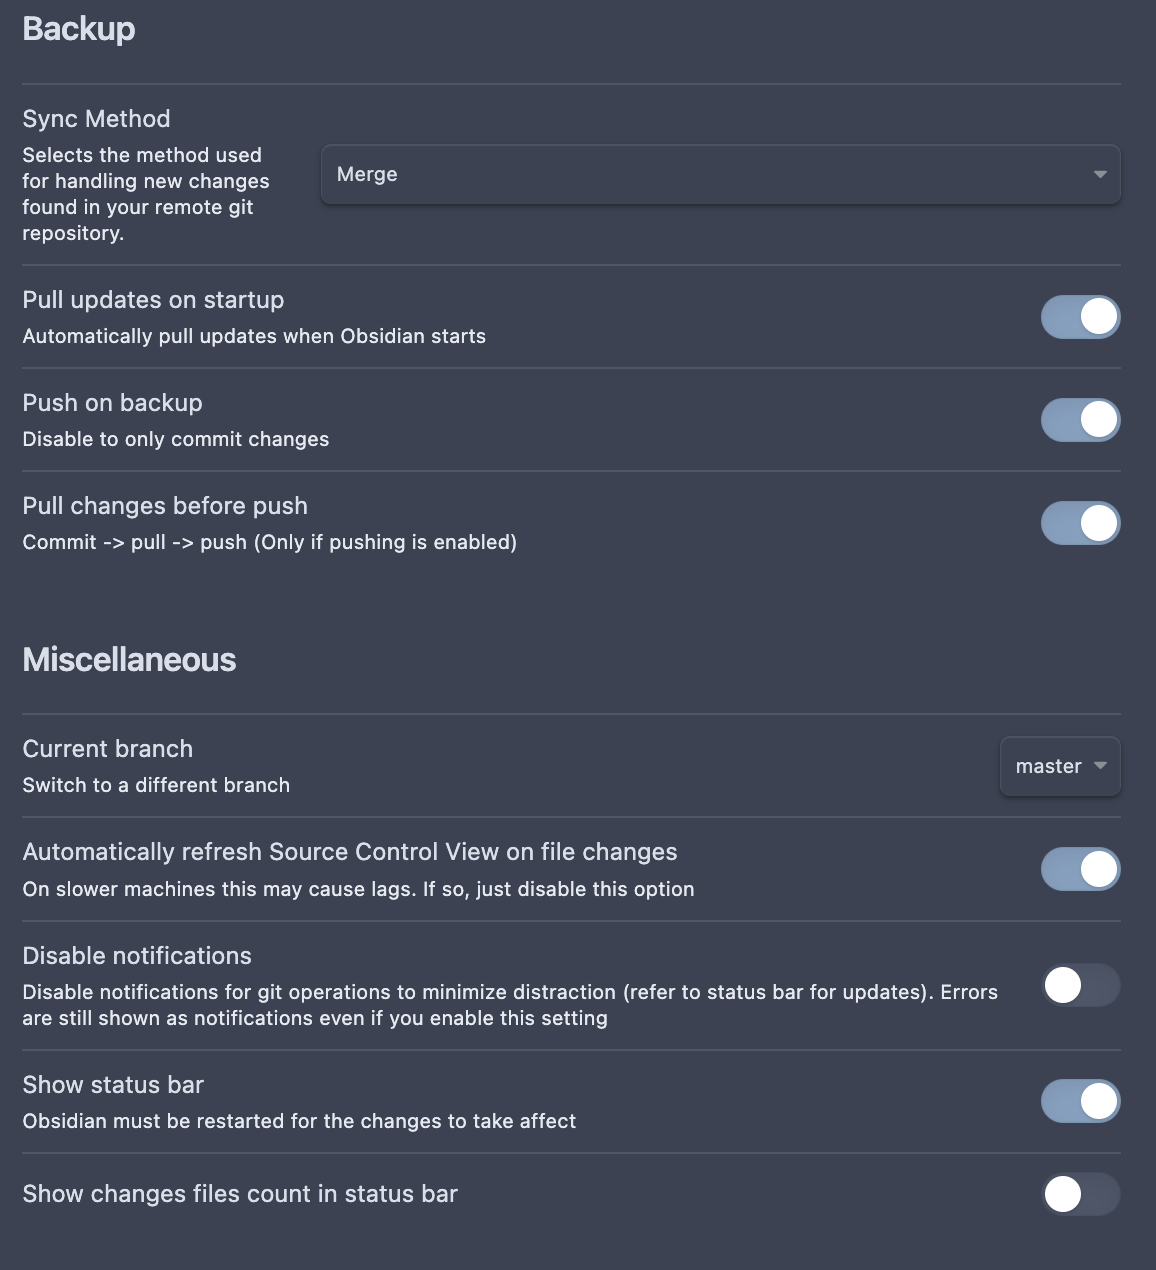
Configure the various timers as you see fit to automatically sync and push your vault. My settings are below:

-
From now on the auto-magical timers should keep your vault syncing to the cloud without issue!